macOSProxyBridgeInstallationSystem Extension
Installing ProxyBridge on macOS
Step-by-step guide to download, install, and enable the ProxyBridge system extension on macOS so you can route any application through InterceptSuite.
I
InterceptSuite Team
March 9, 2026·5 min read
ProxyBridge routes any application's traffic through InterceptSuite, even apps that ignore system proxy settings. This guide walks through downloading and installing the macOS .pkg file and enabling the required System Extension.
Step 1 - Download the macOS Package
- Open your browser and go to https://interceptsuite.com/download/proxybridge
- Click Download for macOS - this downloads a
.pkginstaller file - Once the download completes, locate the file in your Downloads folder (e.g.
ProxyBridge.pkg)
Step 2 - Run the Installer
- Double-click
ProxyBridge.pkgto launch the macOS installer - Click Continue on the Introduction screen
- Click Install - you may be prompted to enter your macOS password to authorise the installation
- Click Close when the installation completes
ProxyBridge is now installed at /Applications/ProxyBridge.app.
Step 3 - First Launch and System Extension Prompt
On the first launch, ProxyBridge needs to install a System Extension to intercept network traffic at the OS level. macOS requires you to explicitly approve this.
- Open ProxyBridge from your Applications folder or Launchpad
- A dialog will appear prompting you to install the system extension - this extension is required for ProxyBridge to work
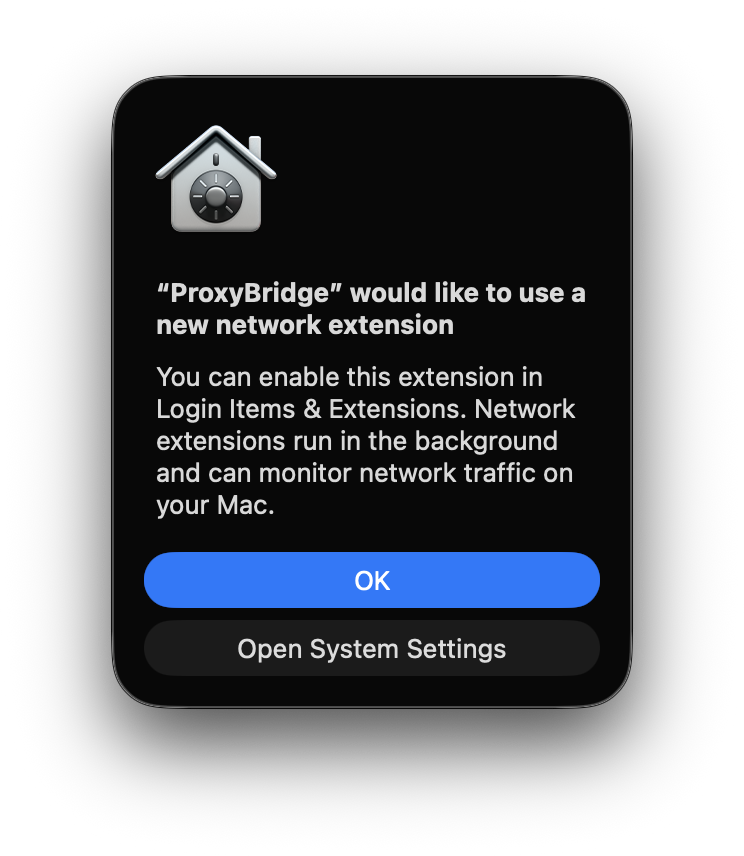
- Click Open System Settings in the dialog - this takes you directly to the right settings screen
If the dialog doesn't appear or you accidentally dismissed it - don't worry, you can enable the extension manually in the next step.
Step 4 - Enable the Network Extension in System Settings
Navigate to the exact location in System Settings where the extension must be approved:
- Open System Settings (
Apple menu → System Settings) - Go to General → Login Items & Extensions
- Scroll down to the Extensions section
- Click the "By Categories" tab at the top of the extensions list
- Select Network Extensions from the list of categories
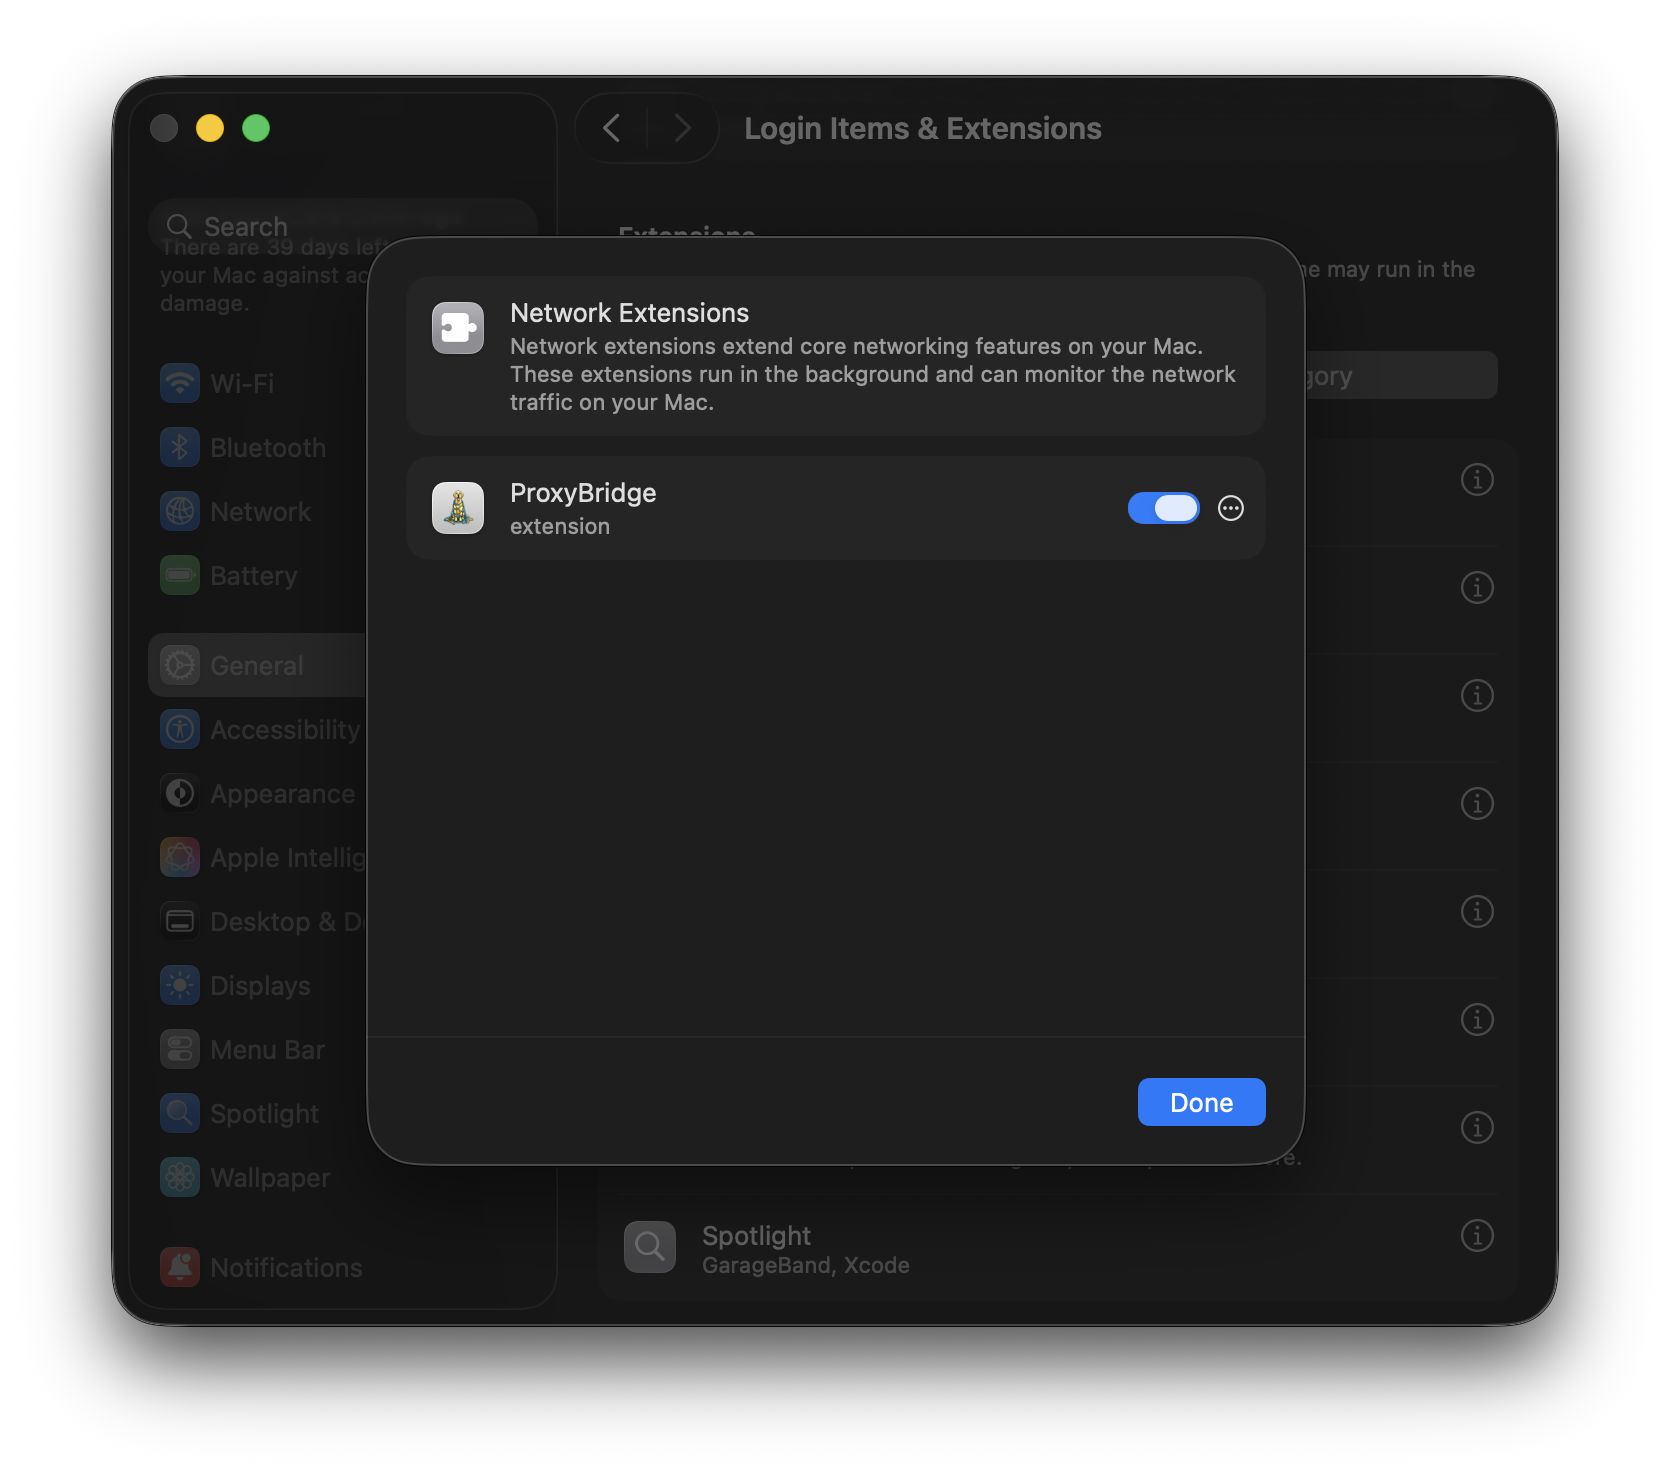
- Find ProxyBridge in the Network Extensions list and toggle it on
- macOS will ask you to confirm - click Allow
- Enter your macOS password (or use Touch ID) when prompted
Once enabled, the toggle turns blue and the extension is active.
Note: On some macOS versions a restart is required after enabling the extension. If ProxyBridge still shows a warning after toggling, restart your Mac and check again.
Step 5 - Verify ProxyBridge is Working
You can verify ProxyBridge is working directly inside the app - no need to switch to InterceptSuite first.
- Open ProxyBridge and click the Connection tab
- You should see network traffic from your system appearing as connection logs
- If the list is empty, generate some traffic to trigger it:
- Open a website in Chrome or Safari
- Or run a quick terminal command, e.g.
curl https://example.com
- Check the Connection tab again - you should now see connection entries appearing in real time
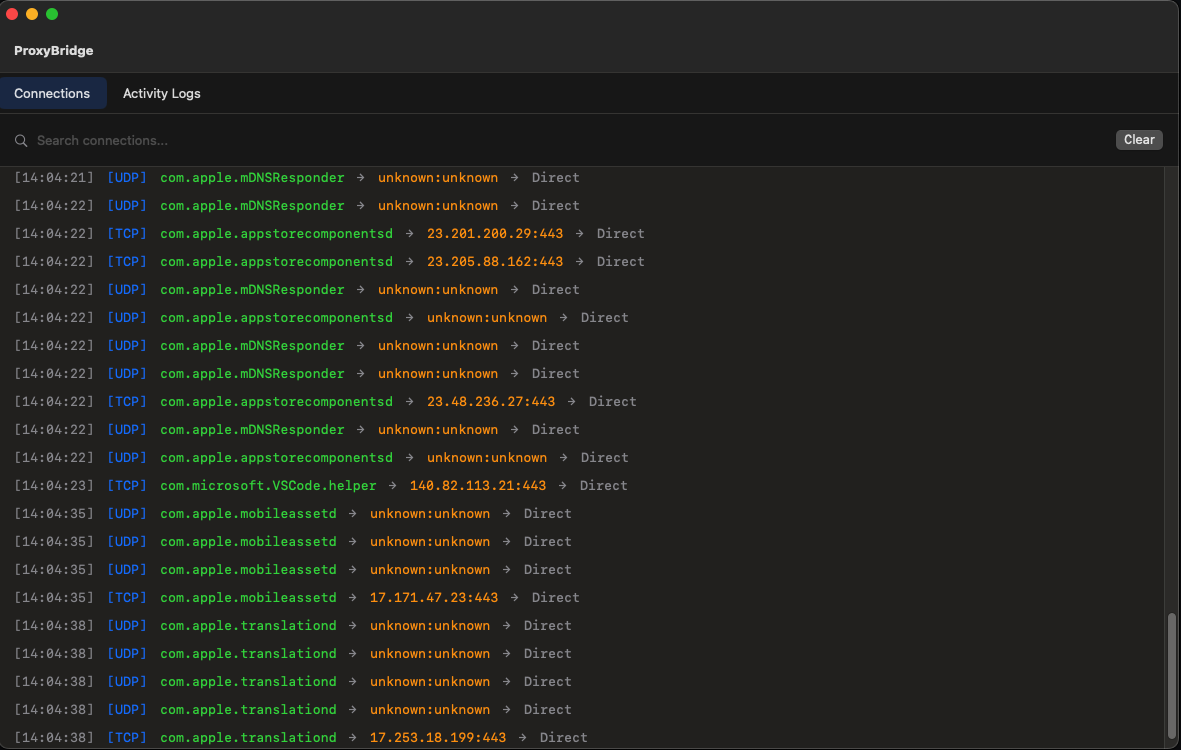
Once you can see connection logs, ProxyBridge is fully installed and ready to redirect traffic. You can also use InterceptSuite to MITM, inspect, modify, or replay network packets.
Troubleshooting
"System Extension Blocked" after enabling
If the extension toggle is greyed out or blocked:
- Open System Settings → Privacy & Security
- Scroll to the Security section at the bottom
- Look for a message: "System software from 'InterceptSuite' was blocked"
- Click Allow and enter your password, then restart
macOS won't open the .pkg file (Gatekeeper)
If macOS shows "ProxyBridge.pkg cannot be opened because it is from an unidentified developer":
- Right-click (or Control-click) the
.pkgfile - Select Open from the context menu
- Click Open in the confirmation dialog
ProxyBridge crashes on launch
Make sure you are running macOS 12 Monterey or later. ProxyBridge does not support older macOS versions due to the System Extension API requirements.